I host my hugo website on Netlify but since Netlify services are limited in my country, I have to use cloudflare CDN. Here’s how I do it.
Step 1
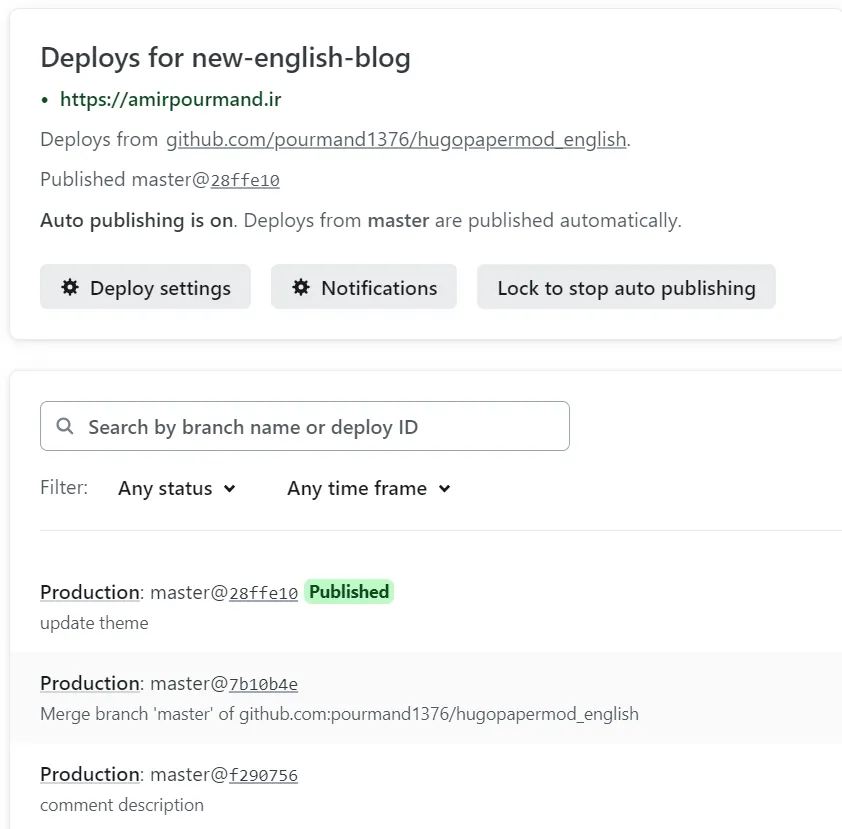
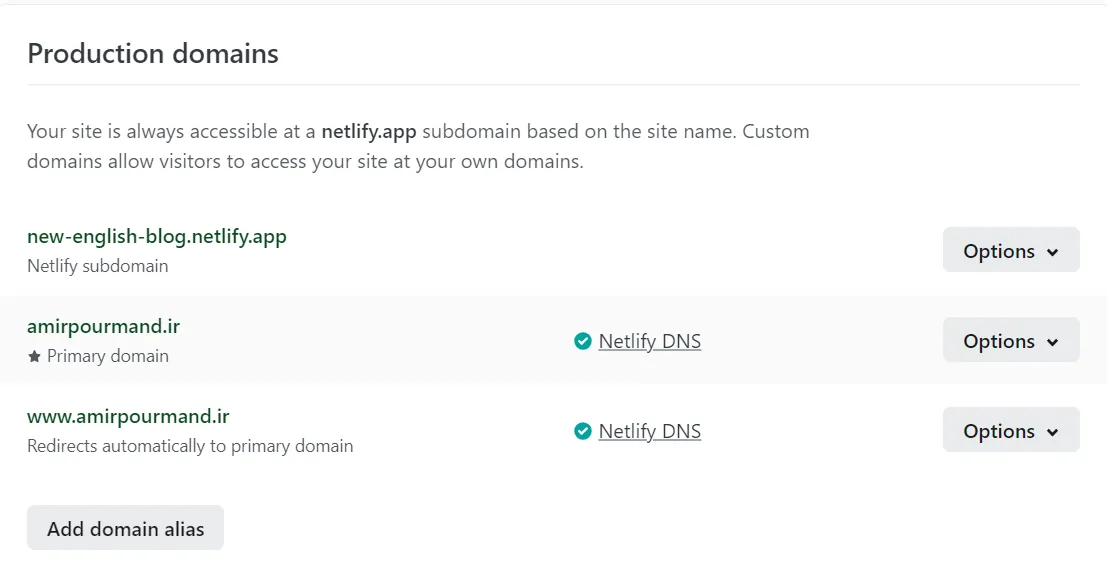
Configure your website on Netlify like normal.
Step 2
- Go to Cloudflare Dashboard| Web Performance & Security and Login.
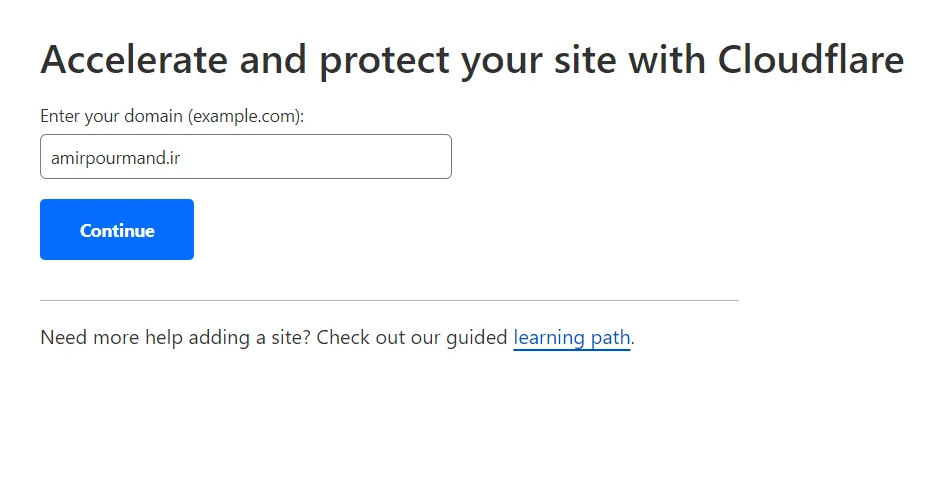
- Then Click on Add a site.
- You can then enter your domain name.
- Choose Free Plan
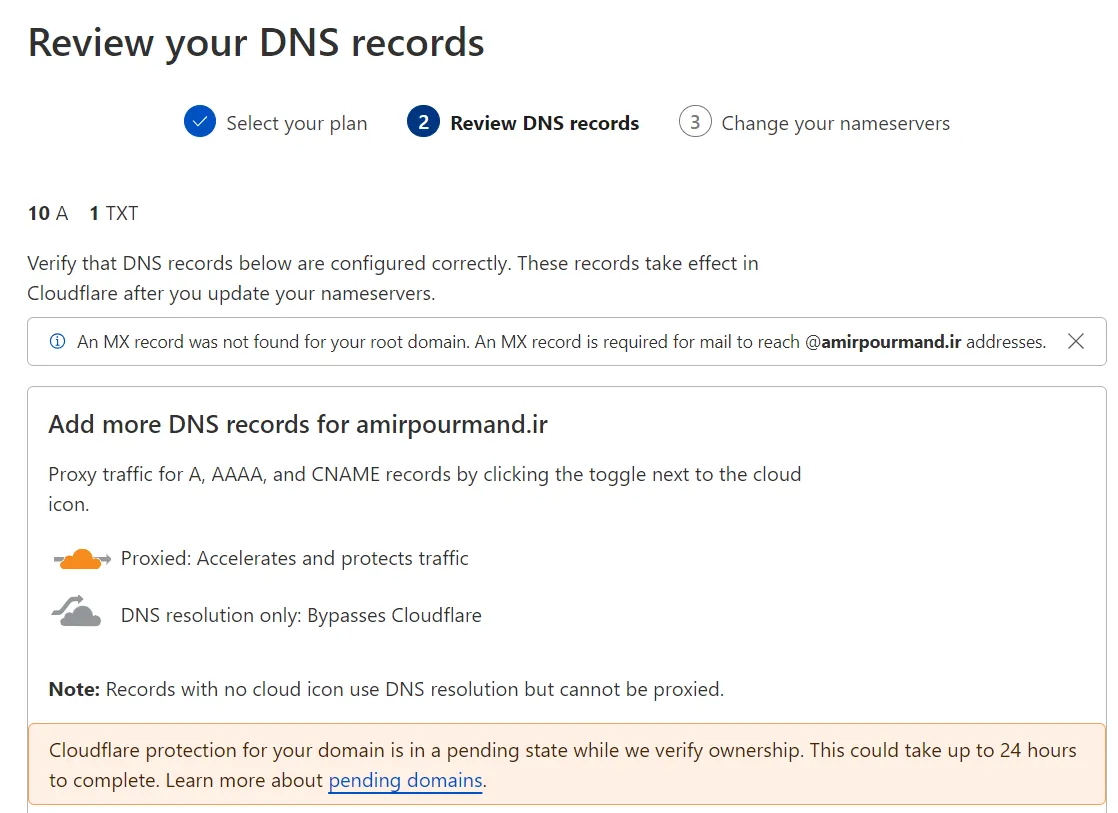
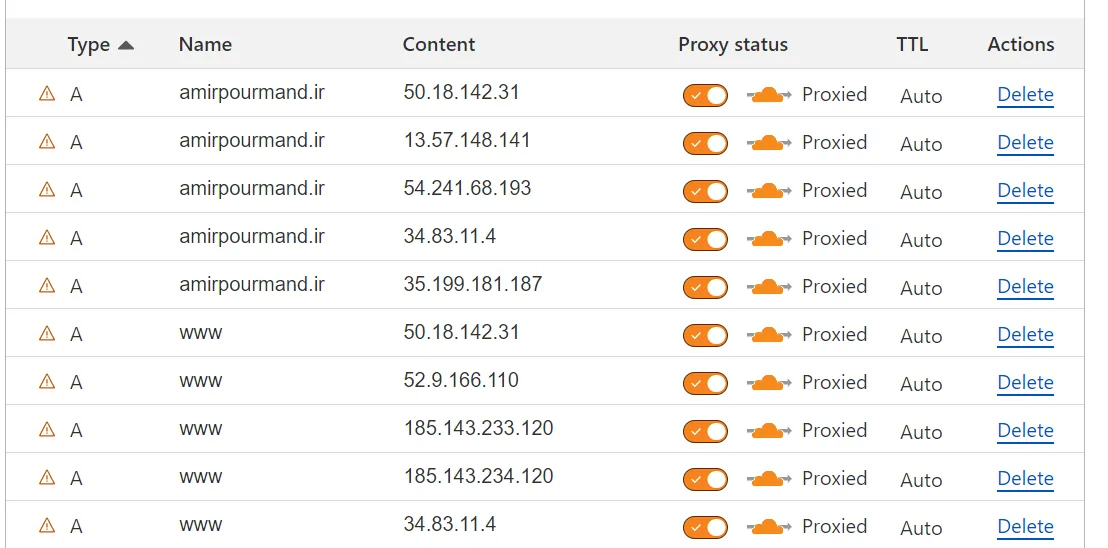
- Review your DNS records and just press Continue! This will appear only one-time. It will determine addresses that you are currently using for your website and add them to DNS Records.
Step 3
You should now change your DNS nameservers to what Cloudflare recommends.

After doing this step, your website would be transferred to Cloudflare.
Step 4 (Optional)
You are now using Cloudflare. However, you won’t get the real benefits from a CDN until you set some configurations. You have to set some cache in order to allow Cloudflare servers to cache your website.
Note that when you post an update to your website, it may take up to 2 hours for your changes to take effect. However, in my opinion, the wait is worthwhile as this approach significantly improves the speed of my website.
Now, go to Caching -> Configuration and Enable this two settings.
 After that, go to Rules -> Page Rules -> Create Page Rule and add a configuration like this:

This step has been previously deprecated since
Page Rulesare being replaced (+). To fix this problem, go intoCache Rulesand set it like this.

Also, Make sure to enable these settings
- Speed -> Observatory
- enable
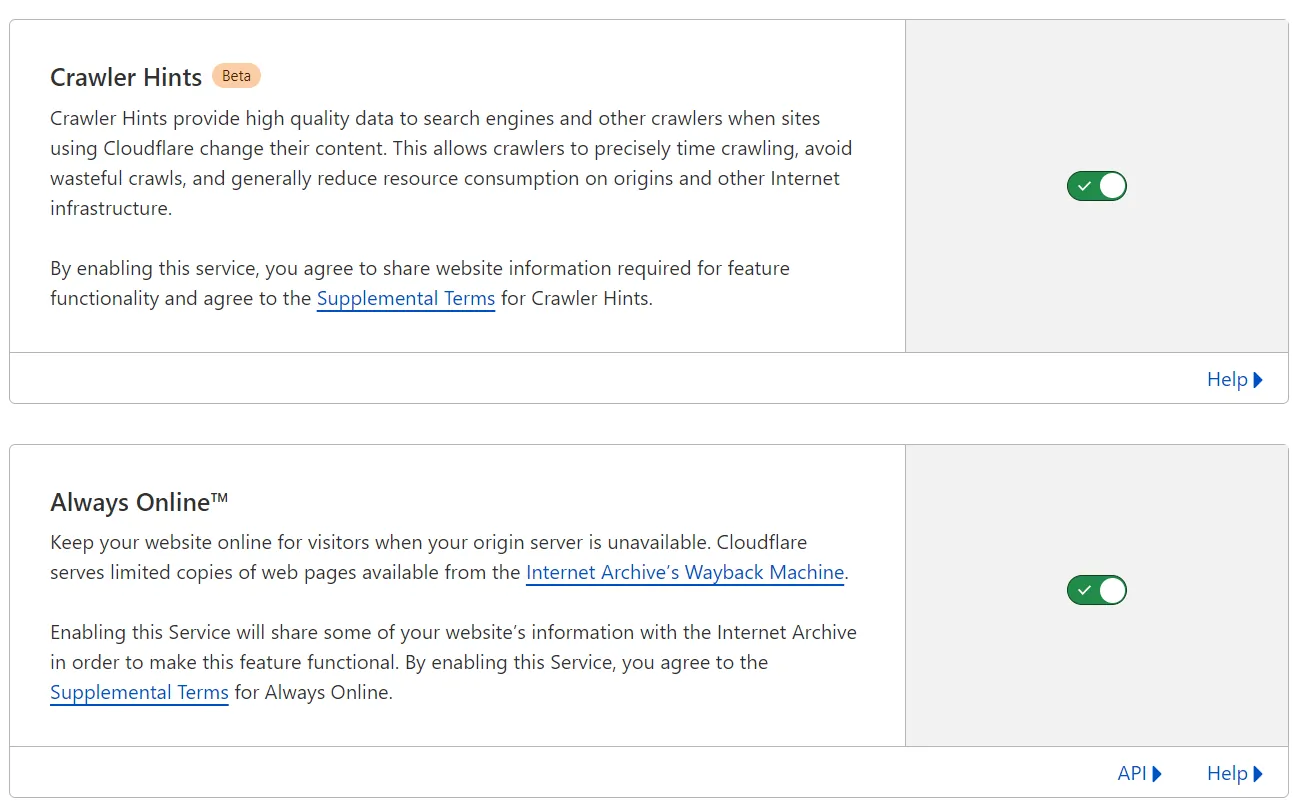
Smart Tiered Cache.- Caching -> Configuration -> Crawler Hints and Always Online
Step 5 (Optional) - Add www redirect
In order to be able to type something like www.amirpourmand.ir and still see the website:
- Add DNS Record of type CNAME, Name www and Target your domain.
- Rules -> Overview -> Add Redirect rule WWW to root.
I used this way for a long time. The only problem is that sometimes (maybe once in a year), netlify IP Addresses change and you have to remove the site and add it again.